Home Assistant Step By Step
Home Assistant is an exciting opensource Home Automation solution. Steep learning curve, YAML configuration-based, solution is written in Python 3.
Installation
Raspberry Pi 3 is a key target for Home Assistant. Installation is complicated. You have two paths to choose from:
- a preinstalled locked down Raspbian image called hass.io (meant to be a turn-key, easily updateable version)
- Install in a Python 3 virtualenv environment (My preferred method, instructions here )
If you get it working, Home Assistant runs on port 8123.

Components
In any home automation solution, you want to interface devices and internet services. This is done with components. The components listed here are maintained officially by the creators of Home Assistant.
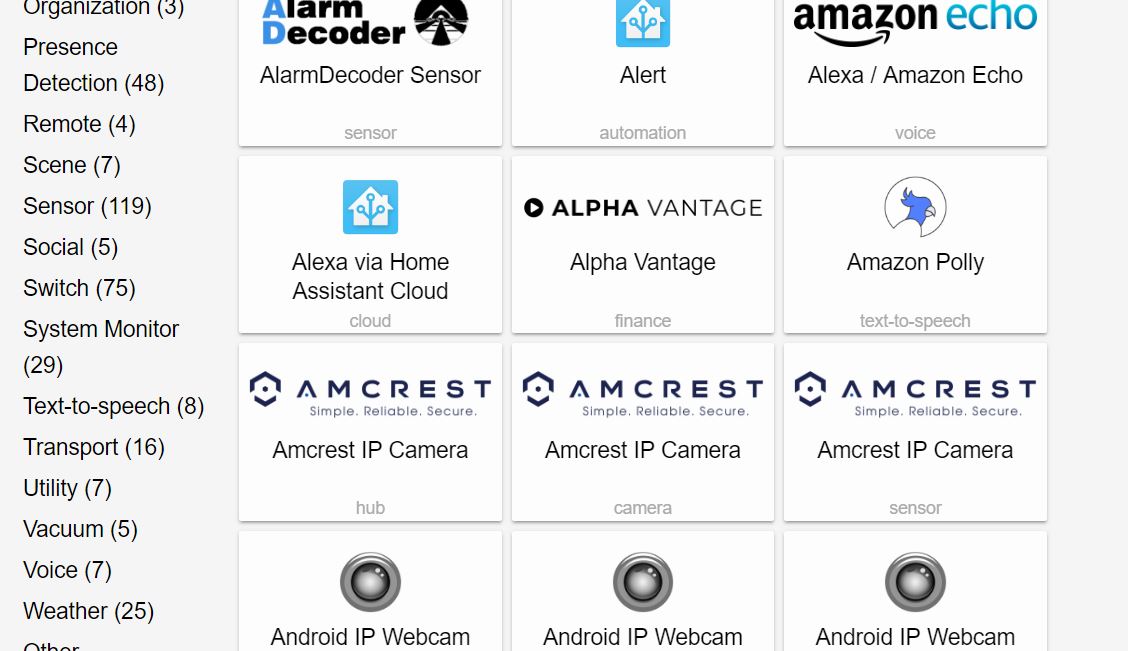
Thing to note about the picture above:
- Components have “categories” such as (Home Assistant considers them higher-level components):
- alarms
- sensors
- switches
- weather
- a particular component belonging to the category is said to be an available “platform” of the category.
Let’s look at an example. Say we are interested in displaying BOM weather data. There are 2 components available.
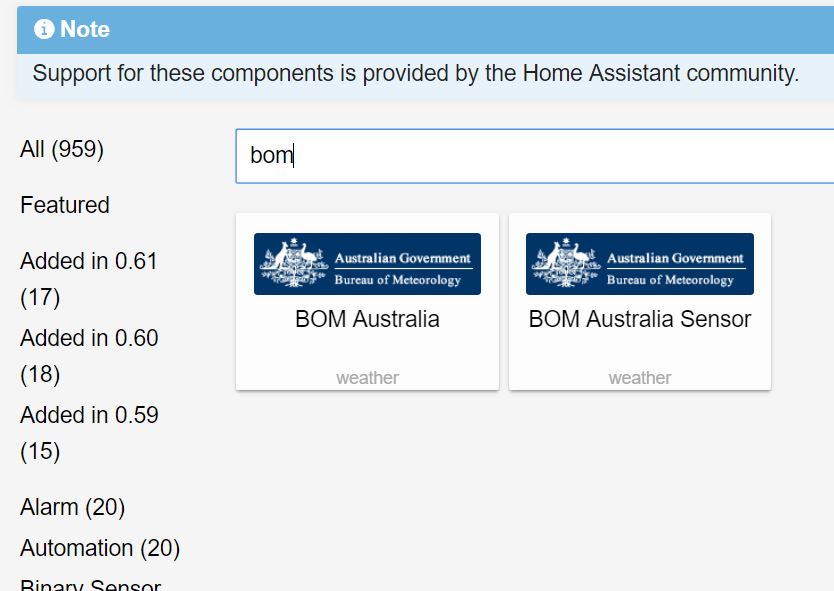
Let’s look at the steps required to add the component called BOM Australia Sensor(link here).
Configuration
All configuration is done with YAML files. The main configuration file is called configuration.yaml Remove the following from the file:
# Weather prediction
sensor:
  - platform: yr
And replace it with:
sensor:
  - platform: bom
    station: IDV60901.94870
    name: Moorabbin Airport
    monitored_conditions:
      - air_temp
      - wind_spd_kmh
      - rel_hum
      - rain_trace
I also commment out the introduction component
# Show links to resources in log and frontend
#introduction:
And the sun component:
# Track the sun
#sun:
What I end up with is the following:

What the? The entities appear as badges by default - not the desired effect but useful since it is pulling in the right data from BOM.
To fix this, we use something called groups.
Groups
Group is a built-in component link here
To use it, edit the configuration file called groups.yaml, then add the following
  default_view:
    view: yes
    icon: mdi:home
    entities:
      - group.bom

  bom:
    name: Moorabbin Airport Weather
    entities:
      - sensor.bom_moorabbin_airport_air_temp_c
      - sensor.bom_moorabbin_airport_rain_today
      - sensor.bom_moorabbin_airport_relative_humidity
      - sensor.bom_moorabbin_airport_wind_speed_kmh
And this is the result after restarting Home Assistant

Where did those entities come from?
State
Under Developer tools click State (<> icon)

Wrap Up
In subsequent articles, we look at interfacing real-world devices, internet services and writing automation scripts.


Leave a Comment